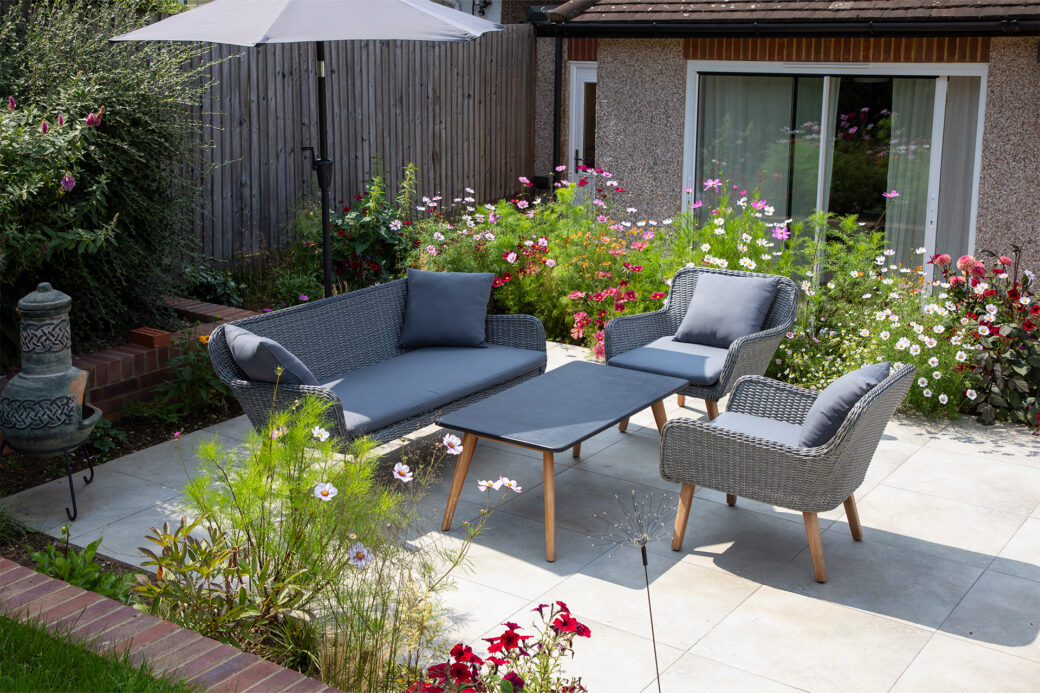
A worthwhile garden border should fulfil a number of requirements. It doesn’t simply define the boundaries of a plot, rather it should also provide aesthetic value, demarcate transitions and enhance the exterior’s visual appeal, all without hampering wildlife. Few types of boundaries do this as well as the humble railway sleepers border.
Thanks to their natural appearance and sturdy composition, they are an obvious choice for the discerning landscaper – but don’t worry – you don’t need to be a professional to install them. If anything, it’s an easy garden DIY that anyone competent with a shovel and a wheelbarrow can get stuck into.
We’ll show you how to make a garden border with sleepers in 8 simple steps, so you can make light work of turning your garden into a tasteful space for gardening, BBQs with the family and general relaxation.
What’s the deal with railway sleepers?
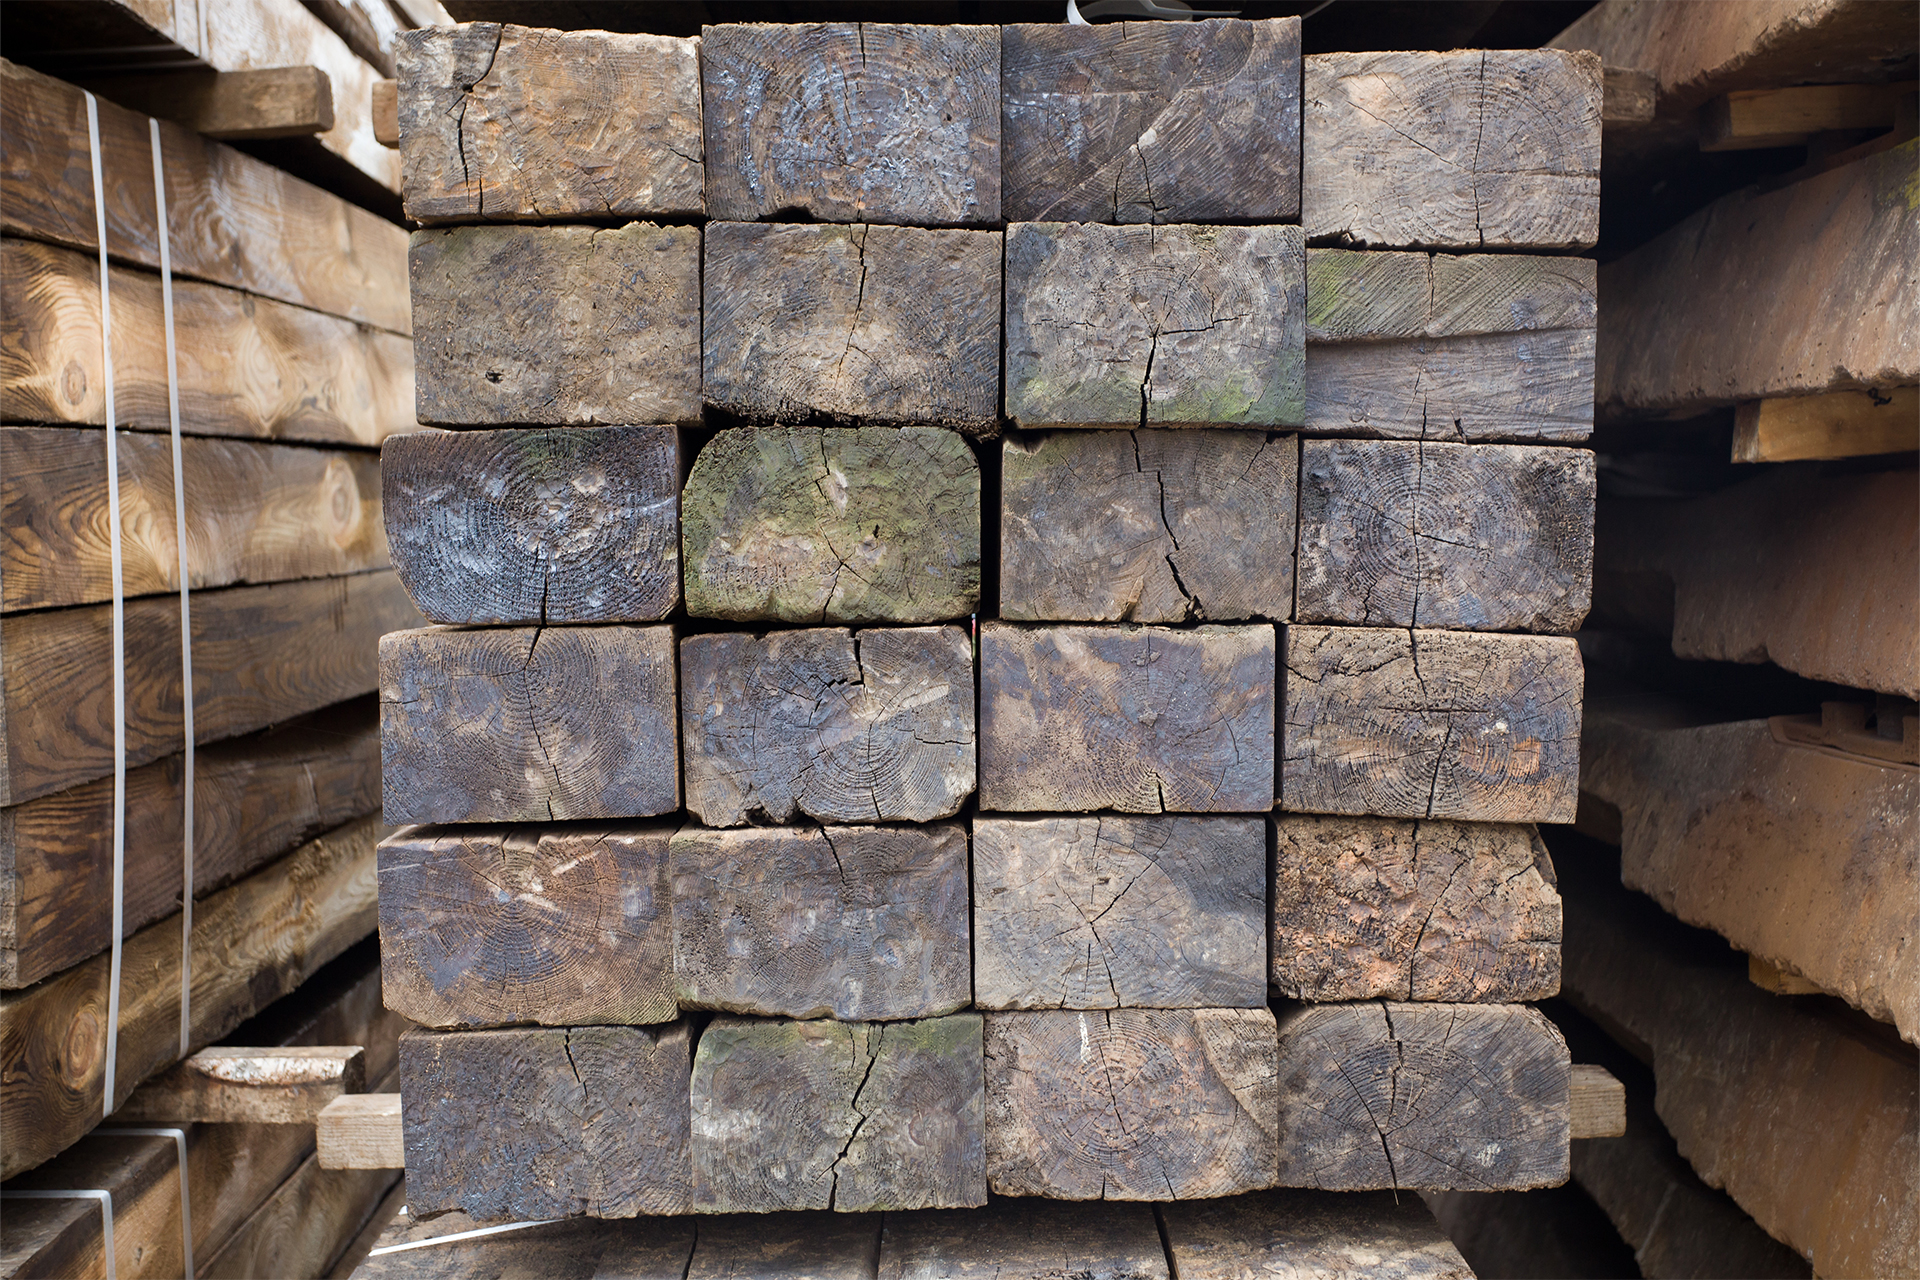
Railway sleepers, also known as railroad ties or crossties, are sturdy beams traditionally used to support railway tracks. These sleepers play a fundamental role in providing structure and stability to rail infrastructure, distributing the weight of passing trains evenly across the tracks.
In the context of gardening, these aren’t just big hunks of wood – they’re functional elements but also versatile design features for your garden borders.
Before diving into the installation process, it’s crucial to understand the various types available and their unique characteristics. Whether you opt for softwood, hardwood, or reclaimed sleepers, each choice brings its own aesthetic and practical considerations – as you’re about to find out…
Choosing the right sleepers for your garden borders
The process of selecting the perfect sleepers for your garden borders involves careful consideration of several factors. From the type of wood to the overall style and sustainability, there are various aspects to ponder.
Softwood sleepers, such as pine, offer affordability, while hardwood options like oak provide durability and elegance. Reclaimed sleepers add a touch of history and authenticity to your garden but may require additional preparation, partially because they haven’t undergone the tanalising process that new, treated sleepers will have done.
For vintage sleepers, it’s also important to note that some may have been treated with now heavily regulated chemicals such as creosote (banned across the EU in 2023 following a damning assessment). As such, they are unsuitable for areas where frequent skin contact is a possibility, like benches, or near vegetable gardens due to leaching.
By weighing these factors and aligning them with your aesthetic preferences and environmental values, you can make an informed decision that enhances the beauty and longevity of your garden borders.
Getting the placement right
Before embarking on the installation of your garden borders with sleepers, it’s essential to get the placement right. Consider the purpose of your border and how it integrates with the surrounding landscape. Will it function as a zoning tool or more of a frame for your land?
Take into account existing features and obstacles in your garden, such as trees, seating arrangements or utility lines, to avoid potential issues during installation. By carefully measuring and marking the border area, you can ensure a precise and visually appealing layout that complements your garden design. This will mean no tweaks will be necessary when you get down to the installation.
How to make a garden border with sleepers
Creating a garden border with sleepers is a rewarding DIY project that adds structure and charm to your outdoor space. Follow these step-by-step instructions to achieve a professional-looking border.
1. Kit yourself out with all the necessary equipment
Gather all the necessary equipment, including the sleepers, a saw, spirit level, wheelbarrow, screws or nails, and safety gear.
2. Set up a neat workspace
Once you have everything you need to use your railway sleepers for garden borders, it’s time to set up a workspace. You might want to spread everything out on a bench and ensure that your sleepers are easily accessible.
3. Take measurements & mark up the border
Take accurate measurements with a tape measure and mark the border area using stakes or string to get it spot on.
4. Ready your sleepers
Ready your sleepers by cutting them to the desired length if necessary, and giving them a lick of wood treatment if they’re virgin wood – just make sure they’re fully dried out before you lay them.
If using reclaimed sleepers, you might also want to sand them down for the safety of your garden’s users and, of course, aesthetic appeal.
5. Prepare the foundations
If you’re installing your sleepers on a solid surface like concrete or a patio, you can simply lay them directly on top. However, if they’re going onto grass or soil, you’ll need to dig a shallow trench for the first sleeper to sit in. The trench should be deep enough to accommodate the sleepers with a slight recess to ensure they sit flush with the surrounding ground level.
Prepare the foundations by ensuring the ground is level and free from obstructions, then get digging with a shovel and wheelbarrow. Adding a layer of concrete, sand, or aggregate beforehand can provide extra stability, although it’s not always essential. Repeat this process around the area until your trench is dug for the entirety of the border.
6. Lay those sleepers
Lay the sleepers horizontally and one by one along the marked-out line, ensuring they are level and flush with the ground. You can use a spirit level to reach a reasonable level of accuracy.
7. Secure everything in place
Secure the sleepers in place by driving screws or nails through the timber and into the soil, ensuring even spacing for stability. Use a rubber mallet to ensure a tight fit between sleepers.
8. Railway sleepers border aftercare
The final step in this process of using railway sleepers for garden borders is the aftercare. Preserving the integrity of your garden sleepers is essential for the long-term durability and aesthetic appeal of your border.
Protecting and maintaining your garden sleepers
Regular inspection for signs of wear, such as rot or insect damage, is crucial. This includes using a stiff brush to give them a good clean when they start to look worse for wear, covered in dirt and debris.
Don’t forget to treat your sleepers with a suitable wood preservative to safeguard against decay and prolong their lifespan. Another thing you can do is maintain a clear boundary between the sleepers and the soil can help prevent moisture buildup and minimize the risk of rot. You can ensure this by laying your sleepers in a foundation laid with landscaping sheets.
Watering your plants
Ensuring the longevity and vibrancy of your railway sleepers border involves diligent aftercare. For designs that incorporate greenery, watering your plants until they establish themselves is paramount, especially during dry spells. Remember that most herbaceous perennials require about a growing season to fully establish, while shrubs and trees may take a bit longer. Proper watering techniques, tailored to your specific plants and local climate, are crucial for their well-being.
Mulching
A layer of mulch applied to your soil surface serves various purposes in maintaining a healthy railway sleeper border. From providing frost protection to enhancing nutrient content and suppressing weeds, mulch plays a vital role.
Consider mulching your border with well-rotted organic matter in late winter or early spring to benefit both your plants and soil. This simple step can contribute significantly to the overall health and appearance of your garden space.
Editing your border greenery
As your railway sleepers border matures, it will inevitably undergo changes that require attention and maintenance. Some plants may spread rapidly, necessitating periodic lifting and dividing, while others may self-seed, requiring management.
Regular editing of the border’s plants ensures that it maintains its desired look and functionality. Keep an eye on plant growth patterns and be prepared to lift and divide herbaceous perennials or relocate shrubs as needed. Remember to document your border’s growth stages with photos for future reference.
That’s a wrap
Phew, that was a lot of information! But it’s everything you need to know in order to craft a stunning railway sleepers border that is sure to leave a lasting impression on anyone who sets foot in your outdoor sanctuary.
So, roll up your sleeves, unleash your imagination, and embark on this exciting journey to elevate your garden with a touch of rustic elegance and timeless charm.